- Create a folder on your hard drive and name it ODT. For this example, we’ll create it on the c:\ drive, like so: c:\ODT.
- Download the Microsoft 365 Deployment Tool from the Microsoft Download Center. Select Save As and save it to your downloads folder.
- In your downloads folder, double-click the Office Deployment Tool exe file to install it.
- If you see the User Account Control prompt that says, Do you want to allow this app to make changes to your device?, click Yes.
- Accept the Microsoft Software License Terms, and then click Continue.
- In the Browse for Folder dialog, select the ODT folder you created in earlier, and then click OK.
OFFICE INSTALLATION
Offline Installation of Office
Step 1 - Download and install the Office Deployment Tool
Step 2 - Create the configuration file
Visit to https://config.office.com/deploymentsettings
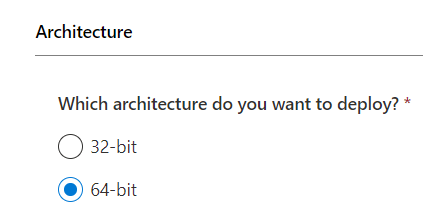
- Select version of windows 32/64 bit which you want to deploy

- Select which products and apps you want to deploy (Choose office Application e.g Office Apps / Visio / Project or any other application option).

- Select Current Channel & Latest Version.

- Select Desired Applications and click Next.

- Choose your language and click Next.

- Do not make any changes in Installation option and click Next.

- Do not make any changes in Update and upgrade option and click Next.

- Do not make any changes in License & Activation option and click Next.

- Provide your organization name in General Field and click Next.

- Do not make any changes in Application Preferences option and click Finish.

- Click Export and download Configuration in XML format.


- After downloading Configuration.xml file replace this file in ODT folder.


